Calling all the holiday decor advocates…have you tried decorating a fall Christmas tree yet? I recently jumped on the autumn trend a few weeks ago and I must say, it’s the perfect family activity (and excuse to put the Christmas tree up even earlier this year).
By following these simple 5 steps, my family and I transformed this bare pencil tree into a stunning fall Christmas tree!
Focus on the fun in fall decorating with this easy how-to-guide.
How to Decorate a Fall Christmas Tree
1. Pick Your Themes
Yes, we’re creating a fall-themed Christmas tree, but let’s get more specific. What kind of decorations do you want to focus on for your tree? Granted, there aren’t as many options for a fall tree than there are for a Christmas tree, but that’s where you can get creative! Below I’ve listed a few fall ornaments I spotted at the Dollar Tree, Michaels and Walmart.
- Dried Flowers
- Harvest Vegetables
- Pumpkins
- Woodland Animals
- Fall-themed signs
- Mini Buckets
- Acorns
For my fall tree, we used a combination of dried flowers, pumpkins, woodland animals, harvested vegetables and acorns.
Next, decide on your color scheme. Of course you’ll want to incorporate the traditional fall colors: orange, red, brown and yellow. But don’t be shy to add your own twist! For our tree, we decorated with the traditional oranges, browns and yellows. But we added accent colors of blue and white to brighten the muted fall colors.
Lastly, spend some time thinking about your topper. Since there aren’t many retailers selling fall tree toppers as is, this is your chance for some DIY decorating.
For instance, we attached 3 large sunflowers together for the perfect fall topper.
After you’ve decided on your color scheme and the mixture of decorations you want to use, you’re ready to shop for your fall decorations!
Now let’s go over the order in which to decorate your fall tree.
2. Start with the Foundation
Always start with layering your foundational pieces for your fall Christmas tree. First, string the Christmas lights on the tree (or buy a Christmas tree with lights already on it).
Pro Tip: Decorate your tree with the lights off. If it’s pretty with the lights off, it’ll be stunning when the lights are on.
Next, add ribbon. Decorating with ribbon will add movement to your fall tree so the end result isn’t mundane or boring. You can wrap the tree horizontally from top to bottom, but there are so many other ways to use ribbon to elevate your design. Do a quick youtube search for “how to add ribbon to your Christmas tree” and pick the easiest one.
Here, we decided to create loops with the ribbon by cutting medium length strips and tucking each end into the tree. The end result…

After that, add your topper. Everyone adds their topper at different stages of the decorating process. There’s no right or wrong way. Here, we added the topper while adding our foundational pieces. As mentioned earlier, we attached a few flowers together for the topper.

3. Add The Statement Pieces
Fill the holes of your tree with the large to medium sized decorations you absolutely want on the tree.
Here, we used pumpkins, harvested vegetables, large dried flowers and woodland birds.


4. Add Filler Decorations
Now that you have the lights, ribbon and statement pieces, finish dressing your fall tree with the rest of your smaller decorations. Here, we used different colored pumpkins, smaller flowers and acorns.


5. Decorate Underneath the Tree
Don’t neglect the bottom of your fall Christmas tree. In fact, the bottom of your tree is just as important as the tree itself.
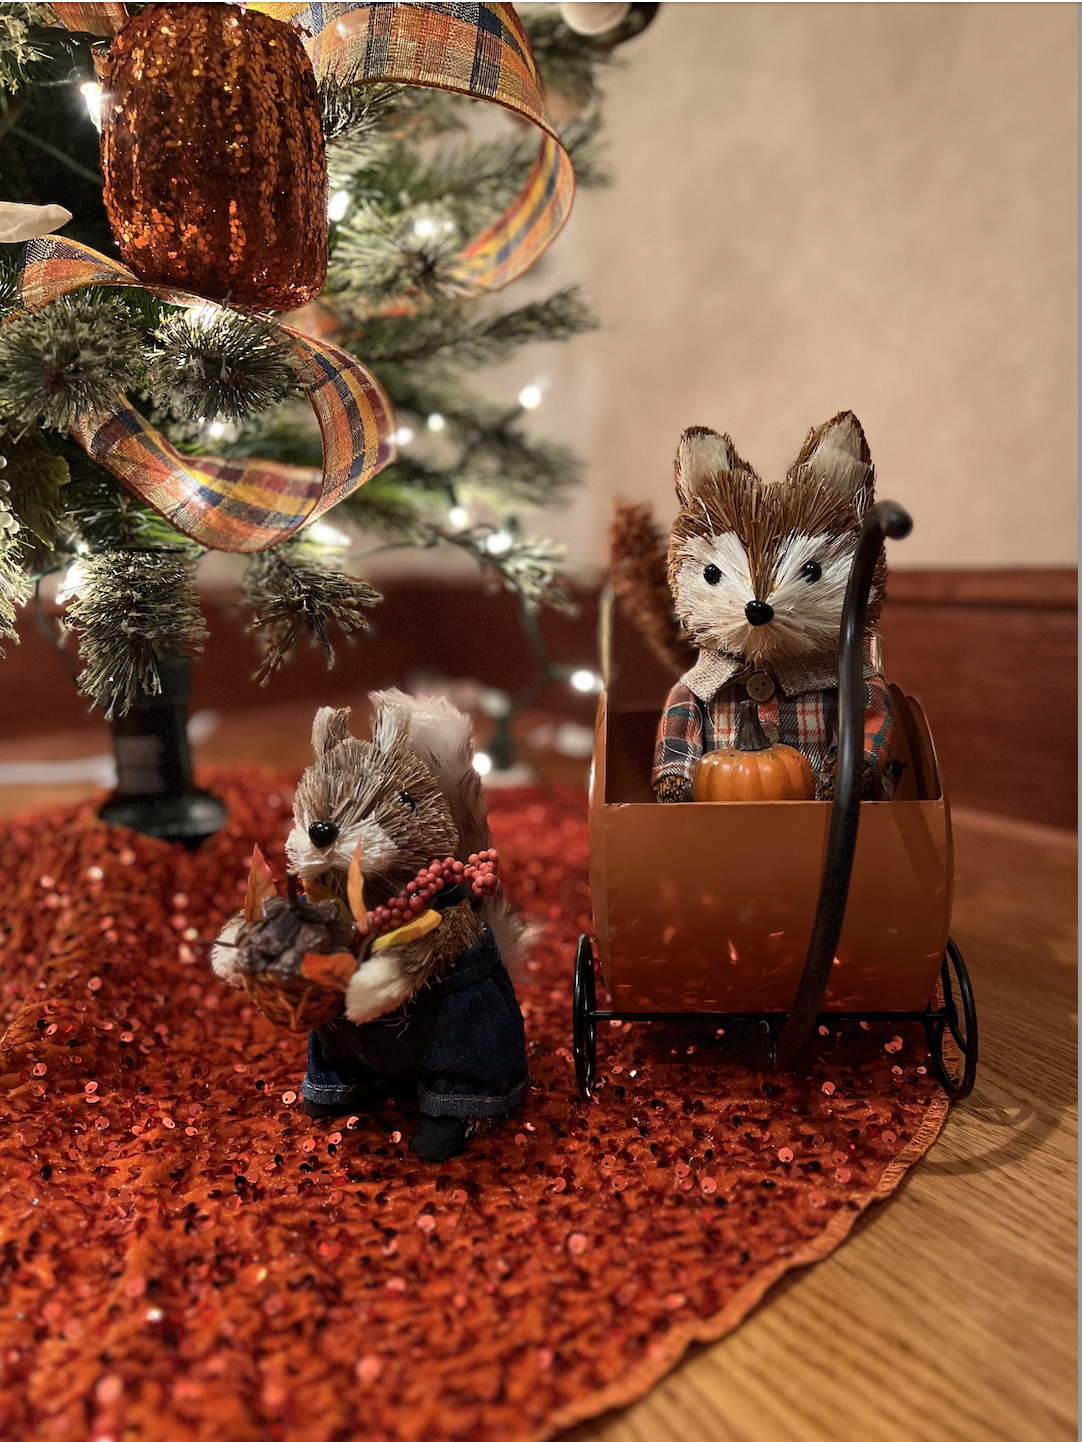
Here, we added a bright sparkly orange skirt to liven up the color scheme, a few woodland animals in a pumpkin wagon and a family of fabric birds.
Shop at Walmart, Michaels or even Amazon for these items.


Turn on the tree lights and viola!

Make a hot cup of hot chocolate, turn on your favorite comfort show and enjoy the ambience.


